
Last updated September 20, 2026
Free on-site gate assessment - hinges, posts, and your LiftMaster or Nice gate operator checked before anything is quoted
The assessment is free and the quote is the invoice.


 Before
 After
After Before
 After
After Before
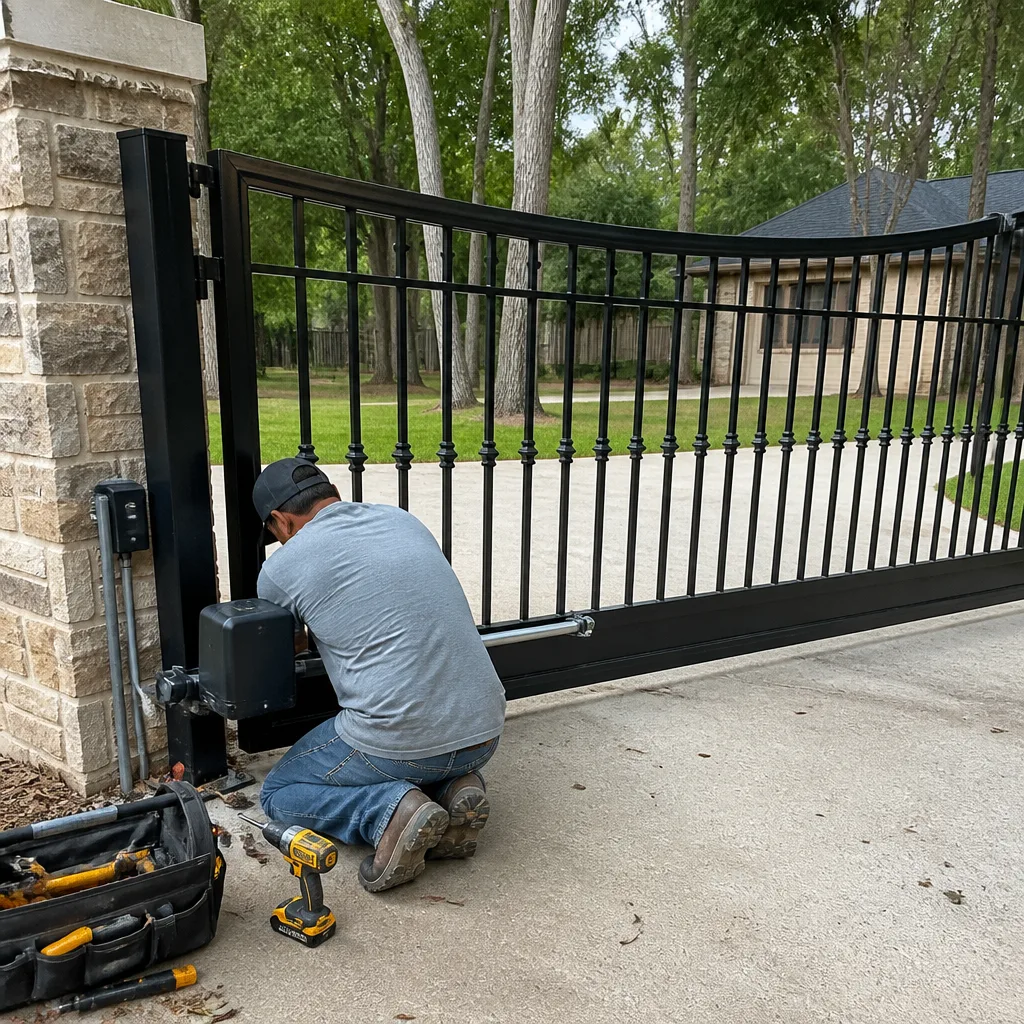 After
AfterDIY vs Professional Gate Repair: The Tomball Homeowner’s Decision Guide
The problem with most DIY gate repairs isn’t the repair itself. It’s that homeowners fix the symptom, don’t record what they changed, and then pay a technician full diagnostic rates three months later to figure out what the house’s own owner already knew. In Tomball’s hot, humid, soil-shifting environment, these undocumented fixes go sideways faster than almost anywhere else in Texas. You’ll finish this guide with a clear three-tier framework for deciding which gate repairs you can handle, which ones need discipline and documentation, and which ones should never happen without an insured professional.
Quick Answer
Most Tomball homeowners can safely handle lubrication, battery backup replacement, and minor limit-switch adjustments on their gate openers. But any repair involving the 120V power connection, torsion springs, or structural gate alignment should go to a licensed professional. The dividing line isn’t just skill level; it’s whether you can create a written and photographic record of what you changed so the next technician doesn’t pay to rediscover your work.
Table of Contents
- Tier One: Homeowner-Safe Repairs You Can Do Today
- Tier Two: Homeowner-Capable Repairs With Documentation Requirements
- Tier Three: Professional-Only Repairs
- Why Tomball’s Climate Accelerates Gate Wear
- What Proper DIY Documentation Actually Looks Like
- The Texas Electrical Liability Line: Where DIY Ends
- The Real Cost Comparison: Parts, Time, and Diagnostic Overhead
- Common Mistakes to Avoid
- When to Call a Professional
- Frequently Asked Questions
- The Bottom Line
BeforeAfterTier One: Homeowner-Safe Repairs You Can Do Today
These are repairs where the risk profile is genuinely low. The parts involved have no stored tension, no line-voltage electrical exposure, and no scenario where a failure could drop a 400-pound gate on someone. You can do these with basic tools, and each one takes under an hour. The catch: even Tier One work deserves a one-page note and two photos. More on that in the documentation section.
Lubrication: The Highest-Value DIY Task in Tomball
Considering Tomball’s summer humidity and the clay-heavy soil that works its way into every hinge and roller track, lubrication is the single best thing a homeowner can do for gate longevity. You’ll want a silicone-based or lithium-based spray, not WD-40. WD-40 displaces moisture but dries out and leaves a sticky residue that attracts dust.
Here’s the sequence we follow on every service visit, and it’s one you can replicate with a step ladder and ten minutes. Spray the hinge pins at the top and bottom of each leaf. Spray the roller wheels where they meet the track, cleaning the track first with a rag if it has visible grime. Apply a thin coat to the latch mechanism and the lock cylinder. Run the gate through two full open-close cycles to distribute the lubricant.
After you finish, write down the date, the product you used, and which components you treated. Take a photo of the lubricant can next to the gate. That’s the whole documentation requirement for Tier One work.
Battery Backup Replacement
Many Tomball gate openers run on a lead-acid or lithium battery that keeps the gate operable during power outages - which happen often enough in this part of Harris County that a dead backup battery is a real security liability. Replacing a battery backup is plug-and-play on most LiftMaster, DoorKing, and Mighty Mule residential units. The battery sits in a plastic housing near the bottom of the control box. Disconnect the old battery, note which terminal is positive, connect the new one in the same orientation, and close the housing.
The documentation requirement here: photograph the old battery’s label (it has the model number and date code), photograph the new battery’s label, and write the replacement date in permanent marker on the battery housing. When we replace a battery backup, that’s exactly what our technicians leave behind.
Photo-Eye Lens Cleaning
The photo-eye is the infrared beam that stops the gate if something crosses the path. When the lenses get dusty - and in Tomball’s dry, windy stretches, they get dusty fast - the system may refuse to close. This is not a misalignment problem; it’s a dirt problem. Take a clean microfiber cloth, wipe both lens faces, and test the gate. If it still refuses to close, the issue is alignment or wiring, and that moves it into Tier Two or Three.
Key Takeaways: Tier One
- Safe with basic hand tools and no electrical exposure
- Lubrication, battery backup swap, and photo-eye lens cleaning all qualify
- You still need to document what you did - date, product, photos
- Anything that involves disconnecting more than two wires is not Tier One
Tier Two: Homeowner-Capable Repairs With Documentation Requirements
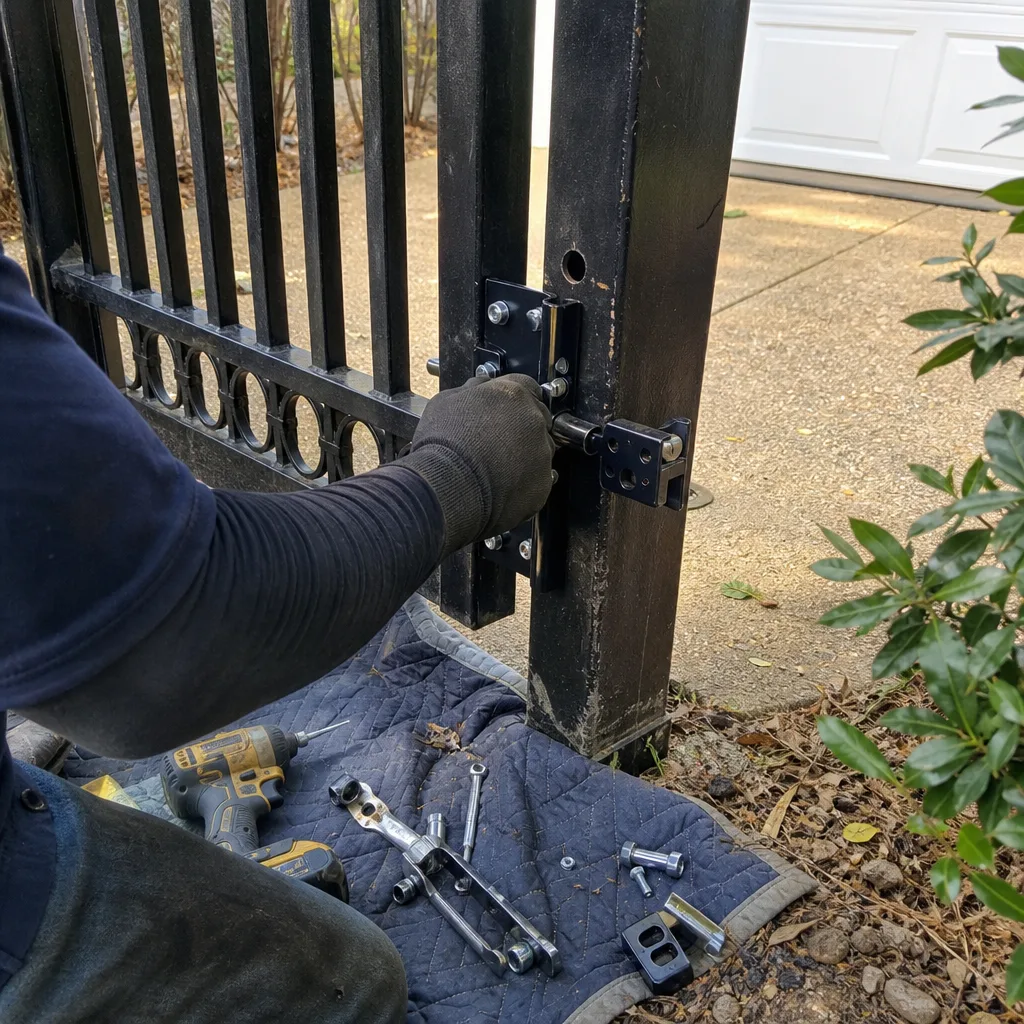
Tier Two tasks are doable for a careful homeowner, but they carry consequences if you skip the documentation. These are the repairs where a technician’s diagnostic bill triples because they can’t tell what the previous hand changed. In our experience across gate repair in Tomball, roughly a third of service calls on recently “fixed” gates involve reverse-engineering DIY work that was never recorded.
Limit Switch Adjustment
The limit switch tells the gate operator where to stop. If your gate bangs against the stop post or stops six inches short, the limit switch needs adjustment. On most residential operators, including DoorKing and Elite models, you’ll find a small dial or screw on the control board labeled “open limit” and “close limit.” These adjust in small increments. If you turn the wrong direction, you’ll know quickly because the gate will overshoot or undershoot more dramatically.
The specific risk here isn’t injury; it’s confusion. If you adjust the limit switch on a Thursday and the gate’s behavior changes again on Saturday, a technician who doesn’t know about your Thursday adjustment starts from scratch. Document the starting position of the dial (take a photo before touching it), note how many degrees you turned and in which direction, and record the final position. We’ve walked onto Tomball jobsites where a homeowner’s limit-switch adjustment had been set 12 degrees past travel, and the only way we knew was that the homeowner had photographed the original setting.
Hinge and Roller Replacement on Light Gates
If your gate weighs under 300 pounds and the hinges or rollers are visibly worn, you can replace them with standard parts from a hardware or fence supply store. The gate must be supported on blocks or a jack while you work - do not remove a hinge and allow the gate to hang from the remaining hinge. This is where most DIY gate injuries happen. Once the gate is supported, swap the parts one at a time, using the same hole positions if possible.
Documentation for this task: photograph the old part before removal (so the thread pattern and bolt spacing are evident), photograph the new part’s packaging with the part number visible, and photograph the finished installation. If the new hinge doesn’t align perfectly and you have to drill new holes, photograph the old holes too. The next technician needs to know that the gate’s hang geometry changed, even slightly.
Remote and Keypad Reprogramming
Reprogramming remotes and keypads is unambiguously a homeowner task. Every operator manual has the procedure, and it requires nothing beyond the “learn” button on the control board. The documentation requirement is lighter here: write down which slot or remote ID you assigned, and if you cleared old codes, list which ones you removed. A future homeowner trying to figure out why the third remote doesn’t work will thank you.
Tier Two Documentation Checklist
- Before photo: the component in its pre-repair state
- Settings recorded: dial positions, screw turns, dip switch positions
- Part numbers recorded: from the package or stamped on the part itself
- After photo: the component in its post-repair state
- One written paragraph: what you changed, when, and why
If this feels like overkill for a hinge replacement, understand what it prevents. A technician in Tomball charges $85-$140 for a standard service call. If that technician spends the first 45 minutes figuring out what you changed, you’re paying roughly $65-$105 of that call for rediscovery. A five-minute documentation habit eliminates that cost entirely. This is the core of what we do at Vance Gate Repair Tomball home - every visit leaves a photo log and written record, because we’ve seen what undocumentated work costs homeowners in the long run.
Tier Three: Professional-Only Repairs
Tier Three is the line. Cross it without the right tools, training, or insurance coverage and you’re not doing a home improvement project; you’re creating a liability exposure that covers anyone who walks through your gate. Three categories live here, and none of them are negotiable.
120V Electrical Connections
If the repair involves opening a junction box, connecting line-voltage wiring to the operator’s power supply, or running new conduit, you’ve entered licensed electrician territory. Texas law does allow homeowners to do electrical work on their own property, but that allowance comes with substantial limits, especially when the work involves wiring that passes an inspection or connects to a fixture outside the home. A gate operator’s 120V supply is not a lamp circuit. It feeds a motor that moves several hundred pounds of steel, often in the rain, and when a connection fails, it fails inside a metal box that children can reach.
Gate Spring Replacement
Driveway gates with counterbalance springs, most commonly on ornamental steel gates in Tomball subdivisions like Pine Trace and Woodland Trails, store an enormous amount of tension. A spring that lets go under load can break bone or worse. This is not a value judgment about your mechanical aptitude. It’s a simple physics statement: a 200-pound gate’s spring system releases roughly the same energy as the gate falling, and you don’t want any part of your body in that path when it happens. We’ve replaced springs on gates where the homeowner had attempted it, and in every case the work left behind damaged brackets, a bent gate frame, or a strip of missing skin on a fence post.
Structural Gate and Post Alignment
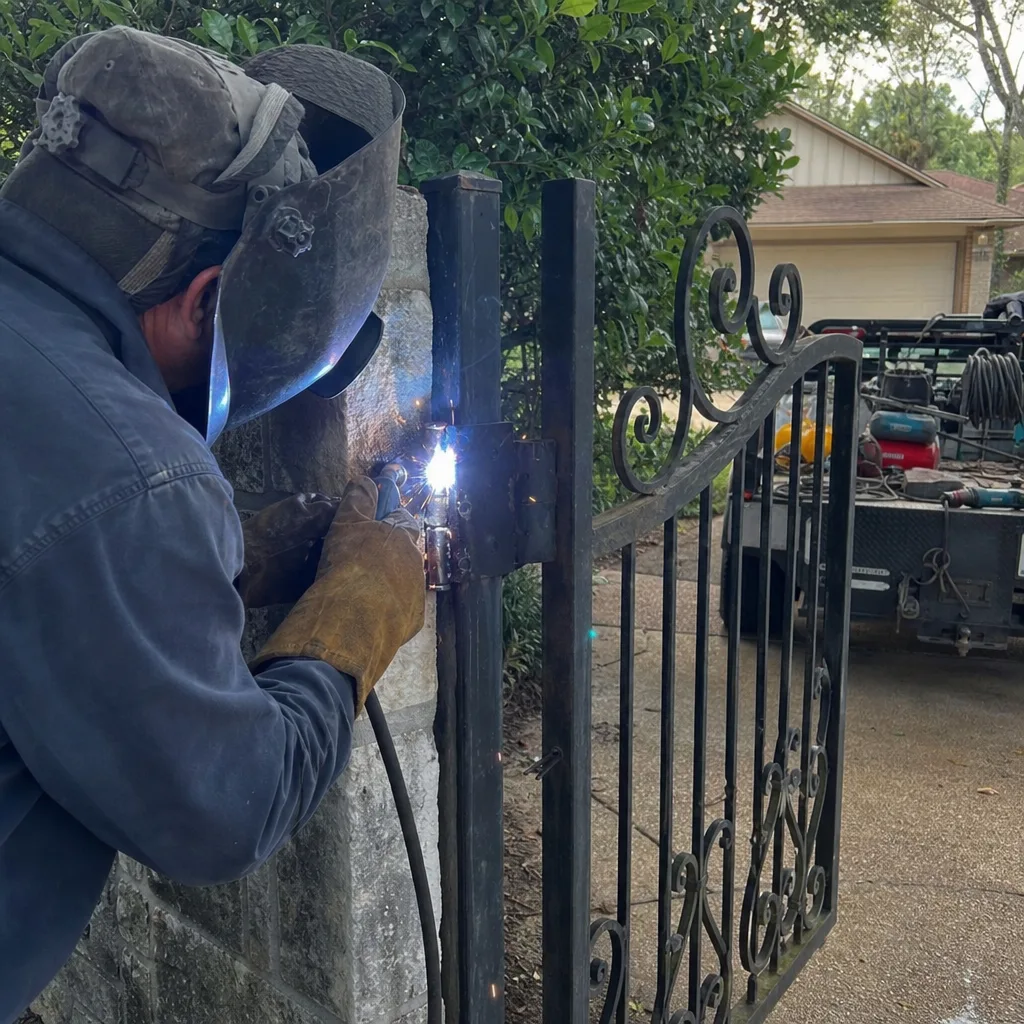
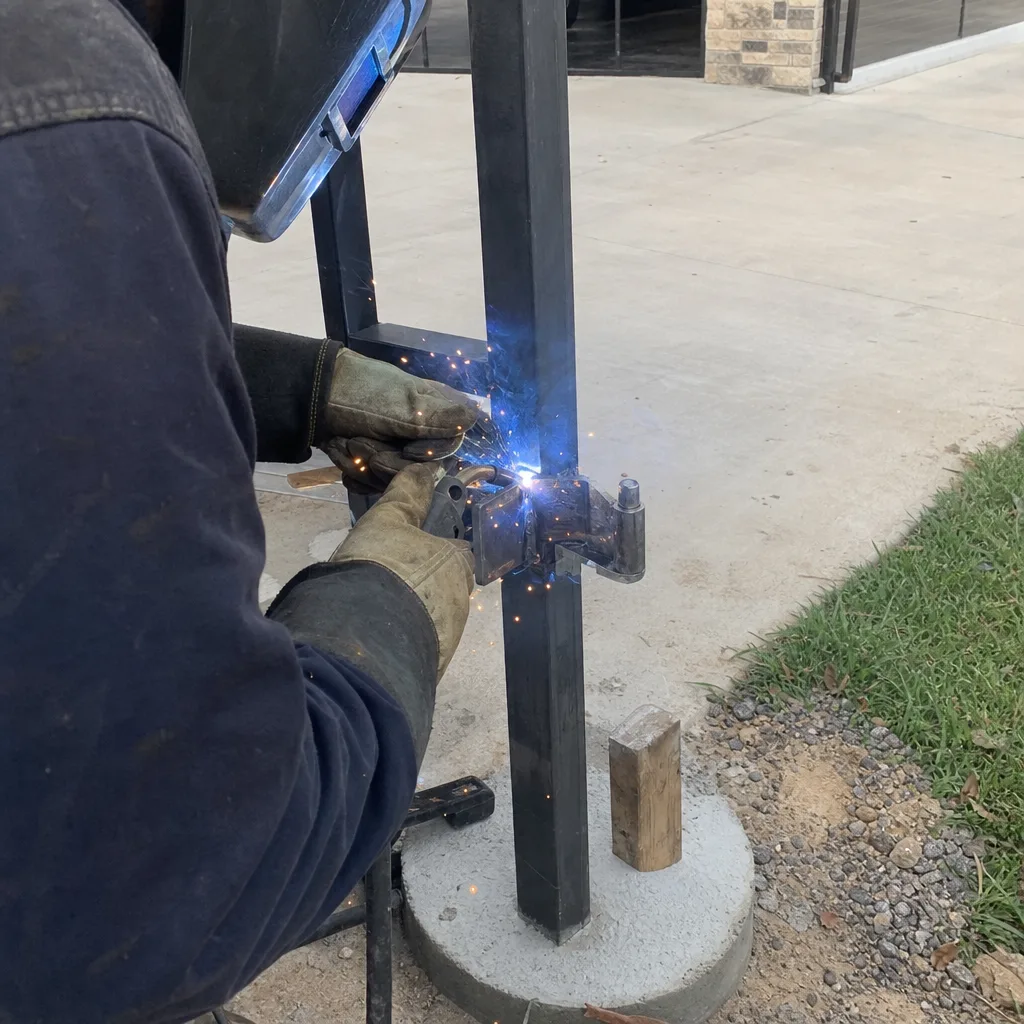
Tomball’s clay soil expands when wet and contracts when dry. This constant movement works gate posts out of plumb over time. A gate that sags by an inch can often be corrected with hinge adjustment; a gate that has dropped by three inches means the post itself has shifted. Fixing that requires digging, re-setting posts in concrete, and sometimes welding new brackets to the gate frame. It’s not a weekend job. It’s a job for someone with a post-level, a concrete mixer, and the welding equipment to correct the hinge geometry while the post sets.
The Liability Question
When a homeowner does Tier Three work and the gate later fails, who owns that failure? The homeowner does, in a very real insurance sense. If an improperly wired gate operator starts a fire, your home insurer may investigate whether the work was done by a licensed professional and adjust the claim accordingly. If an improperly sprung gate falls on someone, the injury claim lands on your homeowner’s policy. We mention this not as a scare tactic but as a framing device: the money you save on Tier Three DIY is money you’re betting against your own insurance coverage.
Why Tomball’s Climate Accelerates Gate Wear
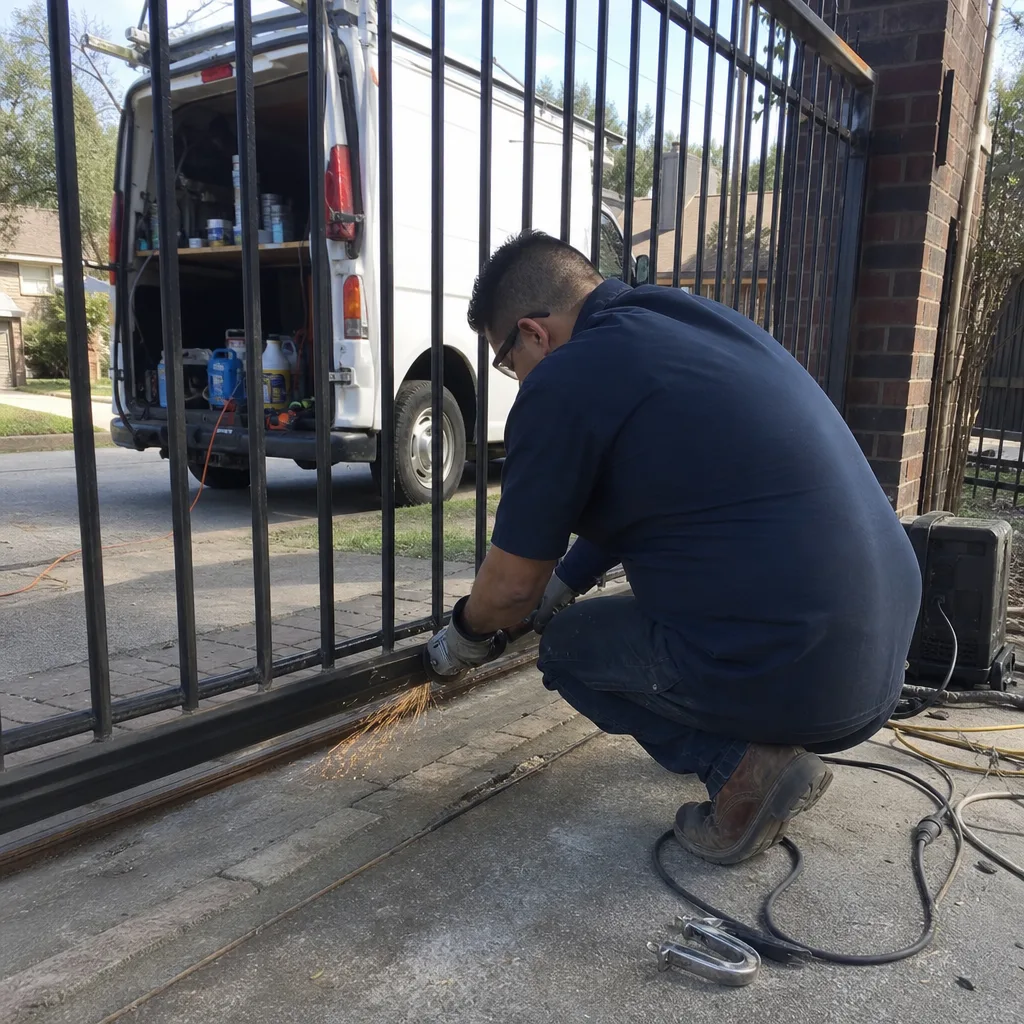
Tomball sits in a specific microclimate where the conditions actively work against gate hardware. Understanding this helps you understand which repairs are more likely to fall on your shoulders, and which ones should go to a professional before they become emergencies.
Soil Movement
The gumbo clay under much of Tomball expands dramatically when saturated and contracts when it dries. This is the same soil dynamic that cracks driveways and foundations, and it does the same thing to gate posts. Post bases shift seasonally. Hinges that were perfectly aligned in March are binding by July. This is not a defect in your gate; it’s a feature of the region. The standard response is to set gate posts below the frost line - which in Tomball means below the active clay layer - and to use concrete with a high enough pour depth that the post doesn’t ride the soil’s expansion.
Humidity and Metal Fatigue
Tomball’s average summer humidity runs above 70 percent, and salt air from the Gulf, while not as aggressive as a coastal environment, still contributes to corrosion. Gate hinges, rollers, and the bolts that hold the operator arm to the gate leaf all see accelerated oxidation. A galvanized hinge that might last 15 years in Lubbock could show significant wear in 8 years in Tomball. This is why lubrication matters so much, and why hinge replacement is a more frequent repair here than in drier parts of Texas.
Storm Cycles
Tomball catches its share of severe thunderstorms and occasional tropical weather. Wind-driven rain pushes water into motor housings that were never sealed properly. Power surges from lightning strikes take out control boards. These are not DIY repairs - control board replacement requires matching the board to the operator model and often reprogramming the limits from scratch - but they’re the reason why a Tomball homeowner should pay attention to gate condition after every major storm.
For anyone considering a gate installation in Tomball, the climate question should be part of the materials conversation. Powder-coated steel, stainless hardware, and properly sealed electrical housings all cost more upfront and significantly less over a decade of Tomball weather.
What Proper DIY Documentation Actually Looks Like
Documentation is the entire thesis of this guide, so let’s be specific about what it means. A useful DIY record has four components. If you can produce all four, you’ve created something that any future technician can work from immediately. If you can produce none, you’ve created a diagnostic puzzle that someone will pay for later.
The Four-Part DIY Record
First, the before photo. This shows the component in its failed or worn state. It captures details you might not even notice at the time - the orientation of a bracket, the position of a wire, the specific pattern of wear on a roller. When a technician sees the before photo, they can identify the failure mode immediately.
Second, the settings record. Write down every adjustable setting you touched: limit switch positions, dip switch configurations, sensitivity dials, remote programming slots. Be specific about directions and increments. “Turned the close limit counterclockwise by a quarter turn” is useful. “Adjusted the limit switch” is not.
Third, the part record. If you installed a new part, write down the manufacturer, model number, and the source where you bought it. Keep the packaging or photograph the label. If the part came with a warranty card, staple that to your notes.
Fourth, the after photo. This shows the completed work. Combined with the before photo, it creates a visual timeline of what changed. When we leave a Tomball job, our photo log includes between 12 and 40 images, each one tied to a specific component or adjustment. You don’t need 40 images for a battery replacement. You need two good ones.
Where to Keep the Record
Keep your DIY gate documentation in the same place you keep your operator’s manual and any previous service records. Many Tomball homeowners keep a physical folder in the garage or a dedicated digital folder with photos synced to a cloud account. The location matters less than the consistency. If you ever sell the house, this folder is one of the most useful things you can hand to the buyer, because it proves the gate has been maintained and tells the buyer exactly what has been changed.
The Texas Electrical Liability Line: Where DIY Ends
Texas is one of the more permissive states when it comes to homeowner electrical work. You can pull a permit, do the work, and have it inspected on a property you own and occupy. But this allowance does not extend to work that would require a licensed electrician if you were hiring it out, and it doesn’t erase the liability consequences if the work is done incorrectly.
What Texas Homeowner Exemptions Cover
The homeowner exemption in Texas allows you to perform electrical work on your own homestead without hiring a licensed electrician. This covers things like replacing outlets, adding circuits, and, technically, running power to a gate operator. The work still must comply with the National Electrical Code as adopted by the State of Texas, and it still must pass inspection if a permit was pulled. The moment you do anything that requires a permit and you don’t pull one, you’ve left the exemption.
Where the Exemption Stops
The exemption applies to electrical work. It does not apply to the operator itself. A gate operator is a motorized device with safety systems, and many municipalities and HOAs require that gate automation be installed and serviced by a qualified professional. The electrical run from the panel to the gate post is one thing; the connection into the operator, the low-voltage wiring for the photo-eyes and edge sensors, and the programming of the operator’s safety parameters are another thing entirely. The moment you open the operator’s control board, you’re working on a system, not a circuit.
The Insurance Reality
The legally gray area is not where you want to build your compliance strategy. Insurance companies don’t parse Texas electrical code nuance; they look at whether the work was done by a licensed professional and adjust claims accordingly. If a DIY electrical repair on your gate operator results in a fire or an injury, expect the claim process to include pointed questions about who did the work. We service all of the major brands - gate motors and openers in Tomball from LiftMaster, DoorKing, Elite, and Mighty Mule included - and we handle the electrical side precisely because it’s the side that carries the most exposure.
The Real Cost Comparison: Parts, Time, and Diagnostic Overhead
The standard DIY-versus-professional cost comparison looks at parts and labor. That comparison is incomplete. The real comparison has to account for the cost of undocumented work, which is the diagnostic overhead charged by the next technician who has to reverse-engineer it.
The Straightforward Numbers
Here’s what typical gate repairs cost in Tomball, whether you do them yourself or hire them out:
- Lubrication (DIY): $12-$25 for a can of lithium or silicone spray. Time: 30 minutes.
- Lubrication (hired): Usually bundled with a service call; $85-$140 as part of a maintenance visit.
- Battery backup replacement (DIY): $35-$90 depending on battery type (lead-acid vs lithium). Time: 45 minutes.
- Battery backup replacement (hired): $120-$200 including part and labor.
- Limit switch adjustment (DIY): $0 in parts. Time: 20-40 minutes.
- Limit switch adjustment (hired): $85-$140 service call, sometimes rolled into a larger repair.
- Hinge replacement on a light gate (DIY): $20-$60 per hinge depending on material. Time: 2-3 hours with proper support.
- Hinge replacement (hired): $180-$350 depending on gate weight and hinge count.
- Gate spring replacement (hired only): $250-$600 depending on gate size and spring type.
- Control board replacement (hired only): $350-$900 depending on operator brand and board complexity.
The Hidden Cost: Diagnostic Overhead
If you do a repair and don’t document it, what happens three months later when the gate acts up again? You call a technician. The technician arrives and sees a gate that has clearly been worked on, but there’s no record. The diagnostic process starts from zero. Where is the limit switch set? Was this hinge always at this angle? Did someone already replace this battery? The technician has to investigate all of it, and that investigation time is billable.
In practical terms: a repair that should be a 20-minute fix becomes a 90-minute service call. At Tomball service rates, that’s the difference between $140 and $300. That difference, repeated over two or three service calls, completely erases any money saved by doing the original repair yourself. This is not an argument against DIY. It’s an argument for doing DIY with a camera in one hand and a pen in the other.
Common Mistakes to Avoid

- Skipping the before photo. The before photo is the most valuable piece of documentation you can produce, and it costs you nothing. Without it, a technician has no baseline. Take the photo before you touch anything.
- Using WD-40 for gate lubrication. WD-40 is a water displacer, not a lubricant. It cleans well but leaves behind a film that attracts dust and accelerates wear. Use lithium grease or silicone spray on gate components.
- Adjusting limit switches without recording the starting position. If you turn a dial and can’t remember where it started, you’ve created a problem that didn’t exist. Record the starting position with a photo or a sketch before you turn anything.
- Working on a gate that’s under spring tension. If the gate has counterbalance springs and you don’t know exactly how to release that tension safely, do not touch the gate. This is a hard line. Spring-loaded gates can kill.
- Replacing a part without noting the model number. A hinge is not just a hinge. The hole spacing, the offset, and the material all matter. Write down the part number or keep the packaging.
- Ignoring Tomball’s soil movement when diagnosing issues. A gate that sags in July may have been perfectly level in January. Before you blame the hinges, check whether the post itself has moved. This is a Tomball-specific failure mode that out-of-state YouTube tutorials never mention.
- Doing electrical work on the operator without cutting power. This should be obvious, and yet it happens constantly. The 120V connection to the operator must be disconnected at the breaker before any work inside the control box. If you’re not comfortable doing that, you’re in Tier Three.
When to Call a Professional
Call a professional when the repair involves gate springs, any 120V electrical connection, structural post alignment, or a control board that needs replacement on a modern operator. Also call when the gate’s behavior is intermittent and you can’t isolate the failure to a single component. The most expensive DIY outcome is the one where you spend a weekend guessing, replace a part that wasn’t the problem, and then call a technician anyway.
When you do call, ask what documentation the company leaves behind. If the answer is a verbal summary and an invoice, expect to pay for rediscovery on every subsequent visit. Gate installation in Tomball and repair work at Vance Gate Repair Tomball includes a written scope, a written price, and a photo record before anyone leaves the property. Estimates are free, and you can reach a live person at (346) 248-7685 any hour of the day.
Frequently Asked Questions
Yes, for a narrow range of tasks: lubrication, battery backup replacement, photo-eye lens cleaning, and minor limit-switch adjustments are all homeowner-safe. Any repair that involves the operator’s electrical connection or control board should go to a professional, both for safety and because a bad DIY fix creates liability.
A basic service call in Tomball runs $85-$140, and most common repairs - hinge replacement, limit-switch adjustment, photo-eye realignment - fall between $180 and $350 when parts are included. More complex work like spring replacement or control-board replacement can run $350-$900 depending on the operator and the gate size. The work is priced and agreed in writing before it starts, not after.
It’s legal for the mechanical and low-voltage tasks. When you get into 120V electrical work, the Texas homeowner exemption allows you to do electrical work on your own homestead, but it comes with inspection requirements and insurance implications. The safest position is to keep your DIY work on the mechanical side and leave electrical work to a pro.
Every six months, minimum - more often if the gate sees daily use. Tomball’s heat and humidity accelerate metal-on-metal wear, and seasonal soil movement keeps the hinges under constant stress. This one 30-minute DIY task has a larger impact on gate longevity than any other maintenance habit.
Adjusting limit switches without recording the starting position. This turns a simple adjustment into a diagnostic puzzle for the next technician, since they have no way to know how far the setting traveled. Take a photo of the dial before you turn it.
Vance Gate Repair Tomball services LiftMaster, DoorKing, Elite, and Mighty Mule operators, among five other major brands, which means we can work on the motor already on your property rather than steering you toward a replacement. Gate motor and opener service in Tomball covers diagnosis, repair, and programming across all nine brands we carry.
The Bottom Line
The DIY-versus-professional question for gate repair has a clear answer: do the work you can document well, and hire out the work that can hurt you. Tier One tasks - lubrication, battery backup, photo-eye cleaning - are freely yours to handle, and they’re the highest-value maintenance you can do for your Tomball gate. Tier Two tasks - limit-switch adjustment, light hinge replacement, remote programming - are fine if you take before and after photos and write down every setting you touched. Tier Three tasks - spring replacement, electrical work, structural alignment - are professional-only, full stop. Every repair you document saves you money on every future service call. That’s the entire point of this guide, and it’s the same philosophy behind every service call we make at Vance Gate Repair Tomball: name what you found, name what it costs, and name what you left behind.
For a free, no-pressure estimate on any gate repair or gate repair in Tomball, call (346) 248-7685. A live person answers, and the price is written down before any work begins.
Written by Adrian Vance, Owner at Vance Gate Repair Tomball, serving Tomball since 2014.